So, you’ve created your Brand. Great! Let’s get to customizing the Marketing controls.
There are two sections of Marketing controls:
- Promotional: this is used when cross-promoting properties during the checkout process.
- Branding: customize the look and feel of your ecommerce experience and widgets
We’ll walk you through the controls for each of the sections.
Note: all fields must be initially filled out in order to save changes.
Promotional
1. Property Description
This is a brief, 200 max character description of your Brand. We recommend you take primary copy from your media kit, or similar.
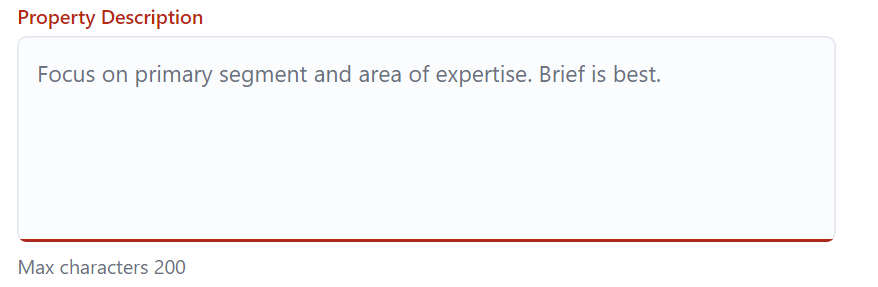
Example: ACME News offers you direct access to the primary audience in the cartoon universe.
2. Monthly Audience Reach
This is used on your landing page to communicate the scale and impact of your Brand’s audience reach. Like all audience profiles, this should be accurate. Although we do make a recommendation for a standard SwiftRev method for calculating, if, for all of your Brands you use a different formula – no problem.
Please – just be consistent.

Example: 85,000
3. Industries Served
You must provide three industries. We recommend starting with your largest served industry and descending from there (so these should be your three largest industries).
Note – the first industry listed is used used in the ecommerce landing page to be the primary industry description of your Brand.
Also, once entered, an Industry becomes available for selection across all the Brands in your account.

4. Relevant Job Functions
Think “Executive”, “Non-Manager” or another role that is served by your Brand. Here, you’ll again need to enter three, starting with the most popular first and descending. Easy stuff.

Example: “Executive” “Procurement Specialists”
5. Division
Are you a larger company, where Brands are organized within a Division.
Don’t have Divisions? No problem. They’re 100% optional.
Note – you should have set up your Divisions before creating your Brands.

Branding
Now, let’s pivot to branding controls to customize the look and feel of your ecommerce experience.
6. Primary Brand Color
You don’t need a lot of color to make the ecommerce experience feel like your brand. With that in mind, we offer “splashes” of a single, primary brand color throughout.
To select this color, ensure you select a darker primary color to represent your brand.
Color is inputted in “hex” color format, e.g. “000000” (black) or “FFFFFF” (white). Once you have your hex color, enter it into the “Primary Brand Color” field.

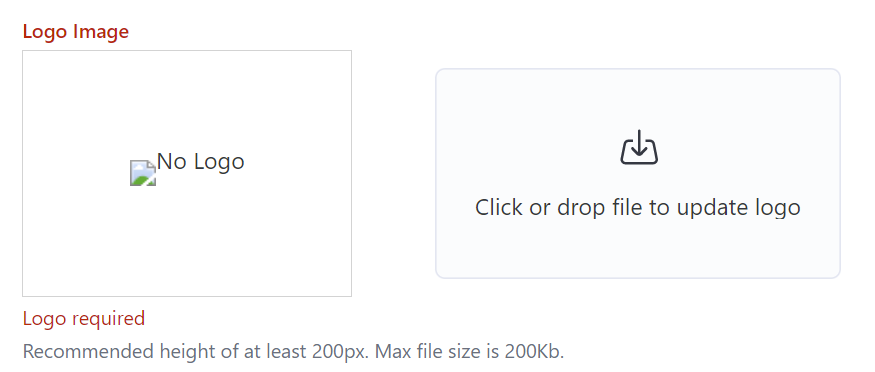
7. Logo Image
Lastly, it’s time to customize the logo branding of the platform. Here, we recommend a 400×200 pixel template with equal offset from all sides.
Note – whenever possible, during the standard setup process, SwiftRev’s onboarding team will aim to do this for you.
Once you have your image ready, upload it. Don’t like it? Make your changes and re-upload using the same interface. The old image is replaced by the new upload.
