Note – Admins can only be managed by Admins. Make sure you have Admin access before continuing further in this Product Guide.
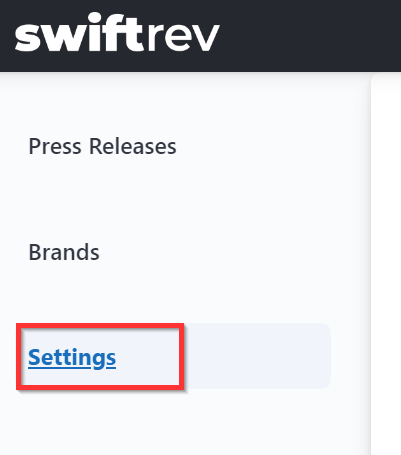
1. First, go to “Settings” in the left hand menu.
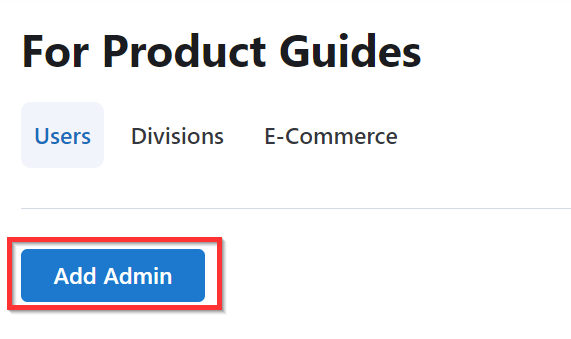
2. You’ll see three navigation items in the Settings area. The first is “Users”. This is where you want to be. In that tab, you’ll see “Add an Admin”. Click on this.
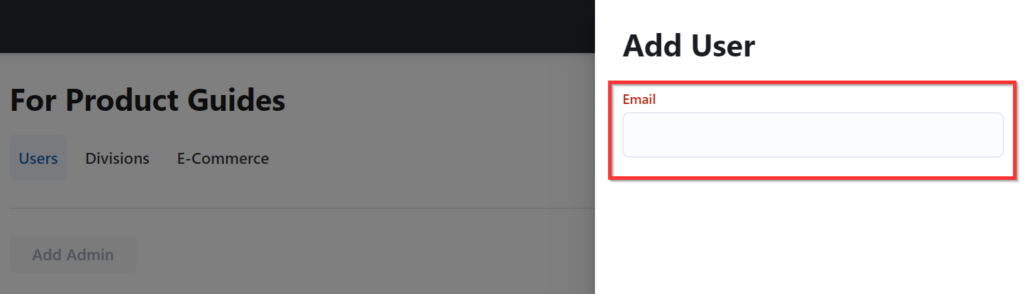
3. In the popup, enter the Admin user’s email and click “Save” at the bottom of the popup. That’s it. User created. They will receive a “Welcome” email immediately and will have access to the platform going forward.